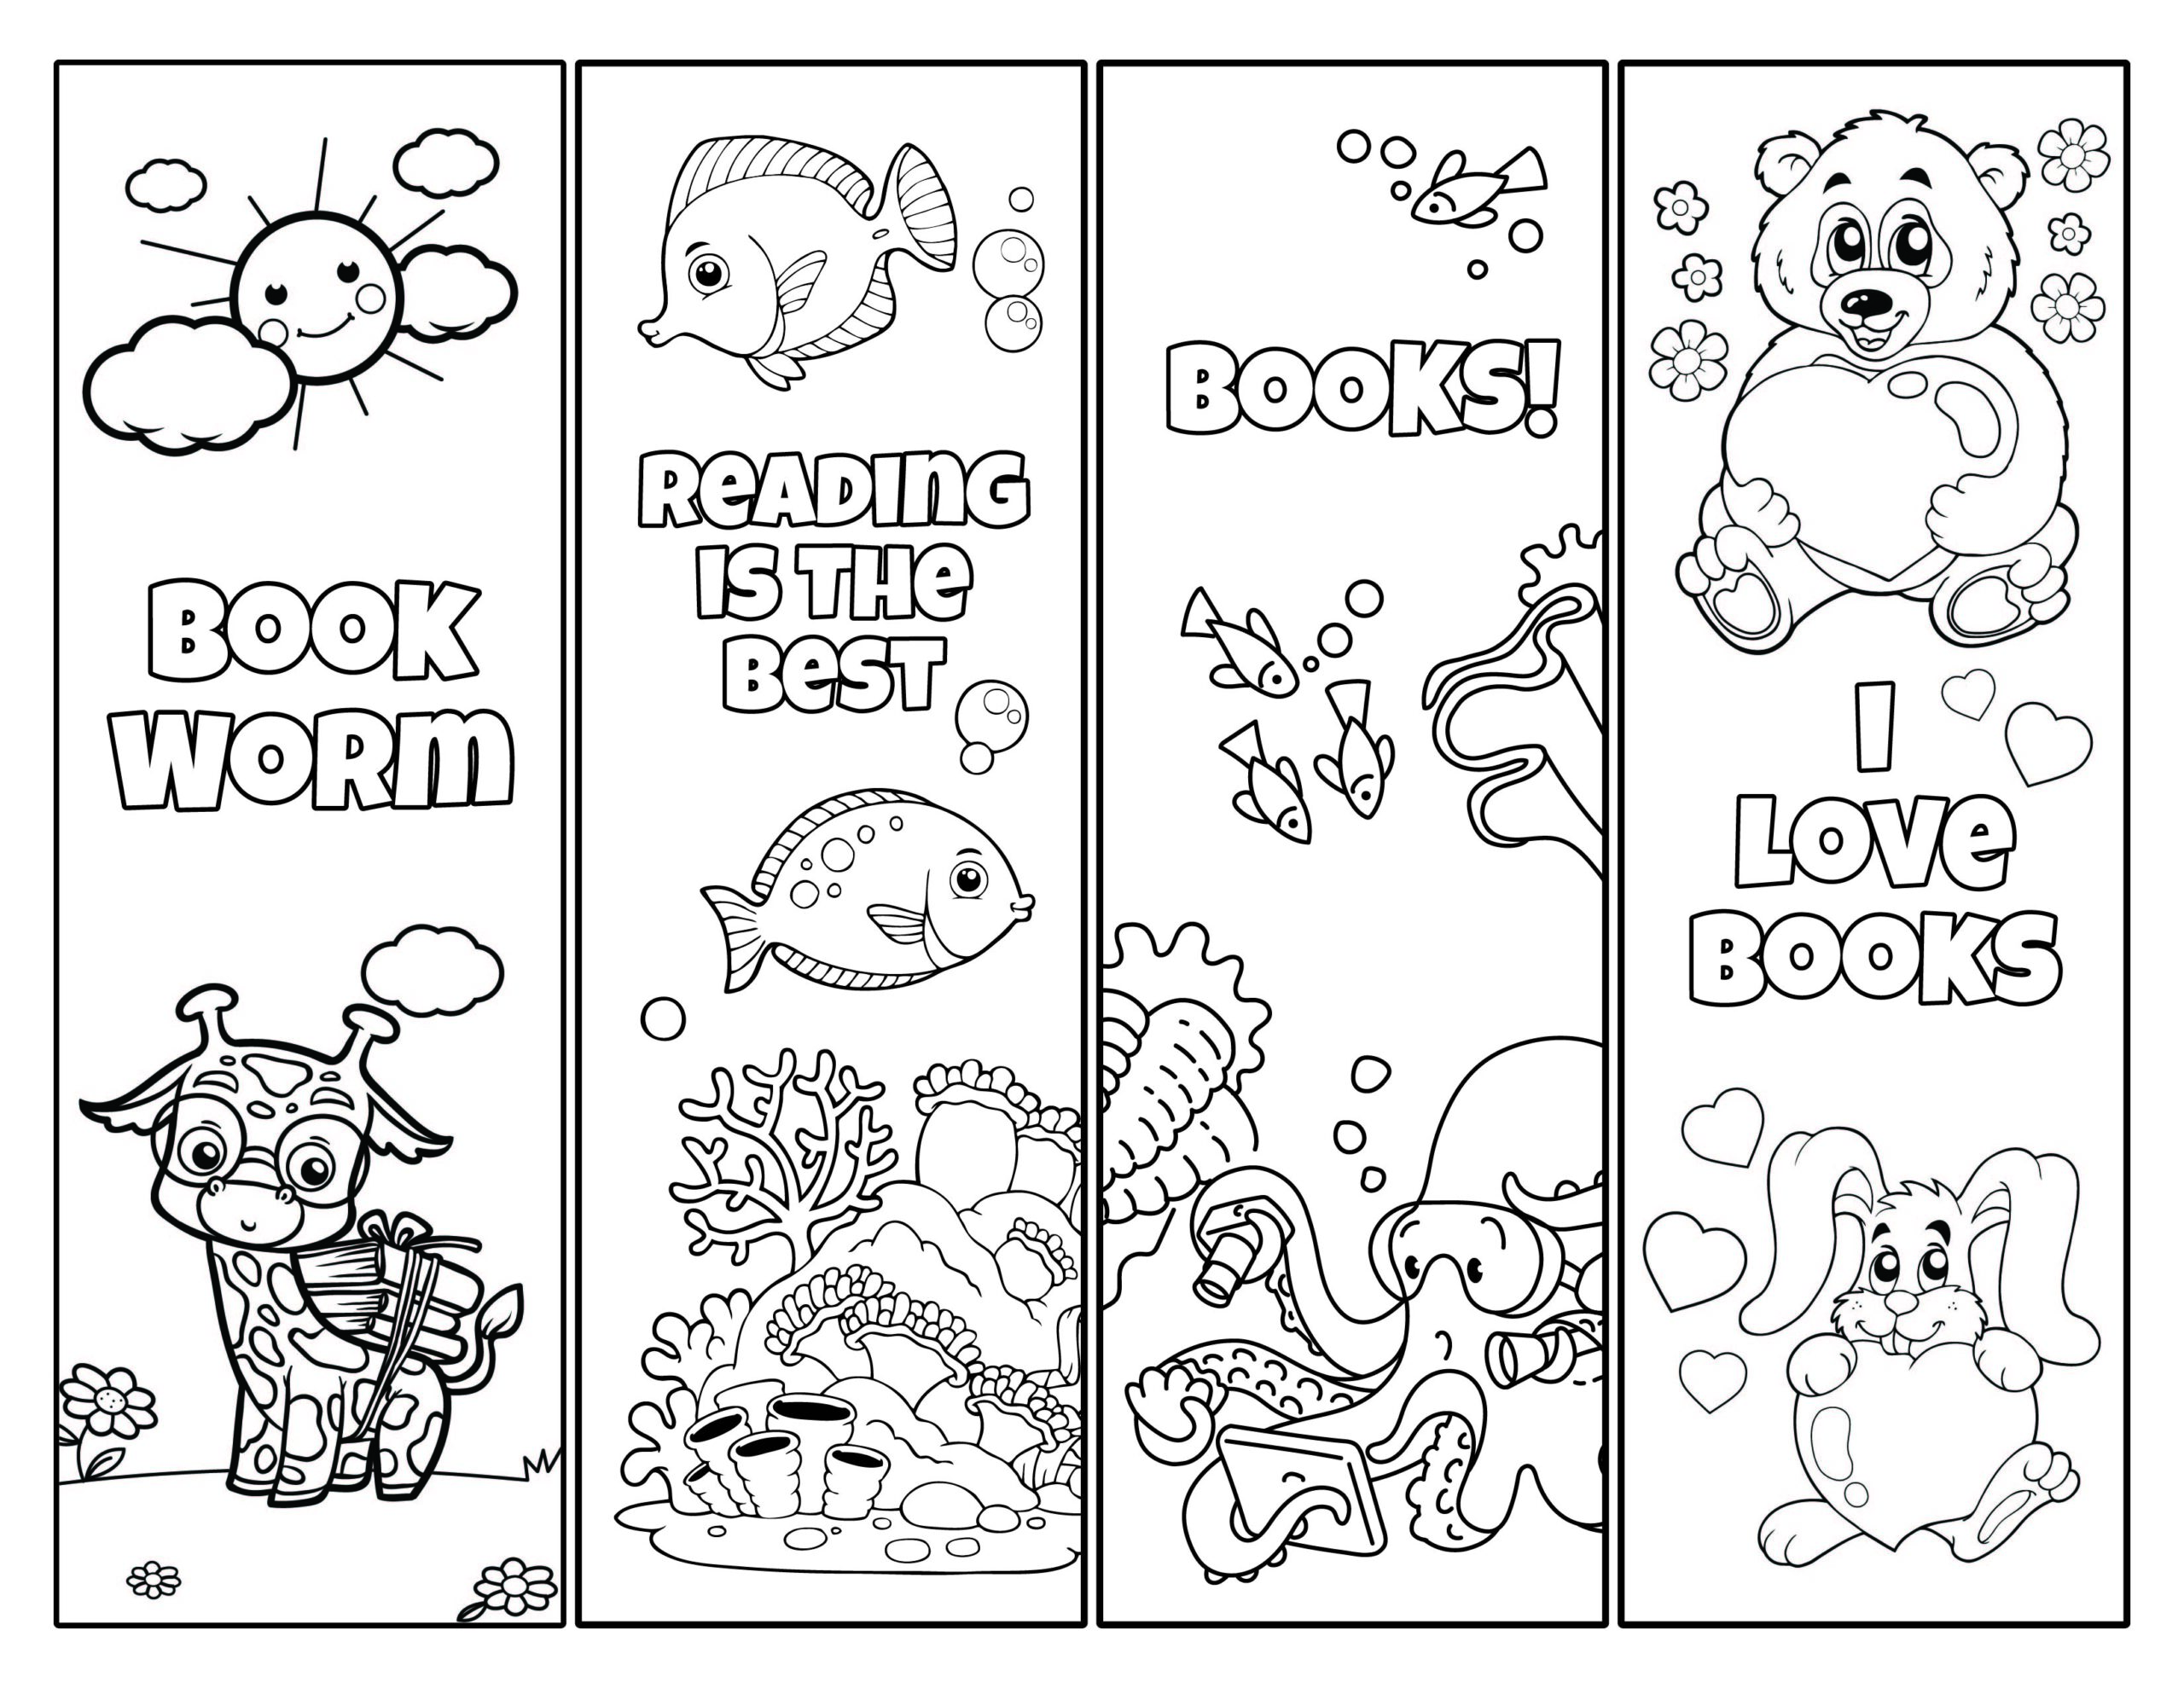
Bookmarks are not only practical tools for keeping your place in a book, but they can also serve as creative expressions of your personality and interests. One way to add a personal touch to your bookmarks is by creating coloring pages. These unique bookmarks allow you to unleash your creativity and add a splash of color to your reading experience. In this article, we will guide you through the process of making bookmarks coloring pages, from choosing the right materials to creating captivating designs.
Materials Needed
Before you start making your bookmarks coloring pages, gather the following materials:
- Cardstock or heavy paper
- Colored pencils, markers, or crayons
- Ruler
- Pencil
- Scissors
- Single-hole punch
- Ribbon or yarn
- Optional: Stencils, stamps, or stickers
Step 1: Choose the Right Paper
The first step in creating bookmarks coloring pages is selecting the right paper. Cardstock or heavy paper works best, as it is sturdy and can withstand the coloring process without tearing. You can find a variety of cardstock options in arts and crafts stores or online. Consider choosing paper in colors that complement your design or opt for a plain white surface to allow your colors to truly pop.
Step 2: Determine the Size
Next, decide on the size of your bookmarks. A standard bookmark size is around 2 inches by 6 inches, but feel free to experiment with different shapes and dimensions. Keep in mind that if you plan to use a single-hole punch to add a ribbon or yarn, leave enough space at the top of the bookmark for the hole.
Step 3: Sketch Your Design
Now it’s time to let your imagination run wild and sketch your design. Consider the theme or purpose of your bookmark. Are you creating it for yourself or as a gift for someone special? Think about the recipient’s interests and hobbies, and incorporate elements that reflect their personality. You can draw anything from intricate patterns and mandalas to cute animals or inspirational quotes. If you’re not confident in your drawing skills, you can use stencils, stamps, or stickers to enhance your design.
Step 4: Add Details and Borders
Once you have your basic design, add details and borders to make your bookmark even more visually appealing. You can use different patterns, shapes, or textures to create depth and interest. Consider using bold lines or contrasting colors to make certain elements stand out. This is your opportunity to add your personal touch and make your bookmark truly unique.
Step 5: Color Your Design
Now comes the fun part – coloring your design! Use colored pencils, markers, or crayons to bring your sketch to life. Consider using a combination of techniques, such as shading, blending, or layering, to add depth and dimension to your coloring pages. Experiment with different color palettes and techniques to create a visually stunning bookmark that will make your reading experience even more enjoyable.
Step 6: Cut and Punch
Once you have finished coloring your design, carefully cut out your bookmark along the edges. Use a ruler to ensure straight lines and clean cuts. If you plan to add a ribbon or yarn, use a single-hole punch to create a hole at the top of the bookmark. This will allow you to easily thread the ribbon or yarn through later.
Step 7: Thread the Ribbon or Yarn
Thread a piece of ribbon or yarn through the hole you created in the previous step. Choose a color that complements your design and adds an extra touch of flair. You can tie a knot or a bow at the top to secure the ribbon or yarn in place.
Step 8: Optional: Laminate Your Bookmark
If you want to protect your bookmark and make it more durable, consider laminating it. Laminating will prevent your coloring pages from smudging or tearing over time, ensuring that your creation lasts for years to come. You can find laminating sheets and machines at office supply stores or use self-adhesive laminating pouches for a simpler solution.
Step 9: Enjoy Your Creation!
Now that your bookmarks coloring pages are complete, it’s time to enjoy your creation! Use them in your favorite books or give them as thoughtful gifts to friends and family. Every time you open your book, you will be greeted by your unique design and the joy of coloring.
FAQs
1. Can I use watercolors instead of colored pencils or markers?
Yes, you can definitely use watercolors to color your bookmarks. However, make sure to use watercolor paper or thicker cardstock to prevent the paper from warping or tearing.
2. Can I make bookmarks coloring pages with children?
Absolutely! Creating bookmarks coloring pages is a great activity to do with children. It allows them to express their creativity and develop their fine motor skills. Make sure to choose age-appropriate designs and materials, and supervise young children when using scissors or hole punches.
3. Can I print coloring pages instead of drawing my own?
Yes, if you prefer not to draw your own designs, you can find printable coloring pages online. There are countless websites that offer free or paid coloring pages for various themes and interests. Simply print them out on cardstock and follow the same steps to create your bookmarks.
4. How can I make my bookmarks more durable?
In addition to laminating your bookmarks, you can also consider using clear adhesive sheets to protect the surface. These sheets are available in various sizes and can be easily applied to the front and back of your bookmark, creating a protective barrier.
5. Can I sell my handmade bookmarks coloring pages?
Yes, you can sell your handmade bookmarks coloring pages if you wish. However, make sure to check local regulations and copyright laws if you plan to use copyrighted designs or characters. It’s always a good idea to create your own original designs or use royalty-free images to avoid any legal issues.
Conclusion
Creating bookmarks coloring pages is a delightful and artistic way to enhance your reading experience. By following the steps outlined in this article, you can design and color unique bookmarks that reflect your personality and interests. Whether you keep them for yourself or share them with others, these handcrafted bookmarks will add a touch of creativity and joy to your reading adventures.